Quick & Creamy: Make Delectable Homemade Vanilla Pudding Fast
There's a certain magic that happens when you combine simple ingredients to create something truly extraordinary. And when it comes to comforting desserts, few things can rival the timeless appeal of homemade vanilla pudding. Forget those instant mixes that promise convenience but deliver a lackluster, artificial taste. We're talking about a rich, creamy, and deeply satisfying dessert that comes together far quicker than you might imagine, transforming humble kitchen staples into a delightful treat that whispers of old-fashioned goodness and pure culinary joy. Imagine a spoonful of silken, smooth pudding, infused with the warm, aromatic embrace of real vanilla. It's a flavor that transcends generations, evoking memories of grandmothers' kitchens and simple, yet profound, pleasures. This isn't just a dessert; it's an experience – one that's surprisingly easy to achieve, incredibly versatile, and destined to become a staple in your recipe repertoire.Why Homemade Vanilla Pudding Reigns Supreme
The first bite of authentic, homemade vanilla pudding is often an "aha!" moment. If your only experience with pudding has been from a box, prepare to have your world (or at least your dessert perception) delightfully altered. The difference lies in a few key factors: * Unparalleled Richness and Creaminess: Store-bought mixes often rely on stabilizers and artificial thickeners. Homemade pudding, however, achieves its dreamy texture through a careful balance of milk, eggs, and a touch of butter. This is where the magic truly happens – and as one culinary adage wisely states, "there is no substitute for the butter!" Butter not only enhances the flavor profile but also contributes significantly to that melt-in-your-mouth creaminess that defines a truly great pudding. * Pure, Authentic Flavor: With control over your ingredients, you can ensure a vibrant, natural vanilla taste. Whether you opt for a high-quality vanilla extract or, for an extra luxurious touch, the flecks of a real vanilla bean, the difference is undeniable. No artificial flavors can replicate the nuanced warmth and sweetness of genuine vanilla. * Wholesome Ingredients: Knowing exactly what goes into your dessert offers peace of mind. You're using fresh milk, real eggs, sugar, and pure vanilla – ingredients you can pronounce and trust. * Surprisingly Quick to Prepare: Despite its gourmet taste, a truly delectable vanilla pudding can be whipped up in under 10-15 minutes of active cooking time. The majority of the waiting involves chilling it to perfection, making it an ideal candidate for a make-ahead dessert.The Simple Science of Perfect Vanilla Pudding (and How to Avoid Pitfalls)
Crafting a luscious, smooth vanilla pudding involves understanding a few simple principles. It's less about complex techniques and more about attention and a little patience.Key Ingredients and Their Roles:
- Milk: The base of your pudding. Whole milk will yield the richest, creamiest result, but 2% can also work.
- Sugar: Provides sweetness and helps create that glossy texture.
- Thickener (Cornstarch or Flour): These starches are crucial for giving the pudding its body and preventing a runny consistency. Cornstarch typically results in a slightly glossier finish.
- Eggs (or Egg Yolks/Whites): Eggs add richness, flavor, and act as an emulsifier, contributing to the smooth texture. Some recipes use whole eggs, others just yolks for extra richness, and some, like classic old-fashioned versions, might incorporate egg whites. If using egg whites separately, they contribute to a lighter, almost meringue-like lift, or can be folded in for added creaminess. Did you know you can even buy egg whites in a carton near the fresh eggs for ultimate convenience?
- Vanilla: The star flavor! Use good quality extract or a vanilla bean for the best results.
- Butter: Added at the end, it melts into the warm pudding, imparting a luxurious sheen and unparalleled richness. Do not skip this!
Crucial Tips for Stove-top Success:
The beauty of homemade pudding is how quickly it transforms on the stove. This speed, however, demands your full attention.
- Constant Stirring is Your Best Friend: This is arguably the most critical step. As the mixture heats, the milk solids and sugars can easily scorch on the bottom of the pan. Keep stirring and pay attention when you have it on the stove! A good whisk is indispensable here, ensuring even heating and preventing lumps. It really only takes about 4-5 minutes of active cooking once it starts to thicken.
- Temper Your Eggs: If your recipe calls for eggs (especially yolks), it's essential to temper them. This means slowly whisking a small amount of the hot milk mixture into the beaten eggs before adding the egg mixture back into the main pot. This gradually raises the temperature of the eggs, preventing them from scrambling when they hit the hot liquid.
- Use a Heavy-Bottomed Pot: This distributes heat more evenly, reducing the chances of burning.
- Know When It's Done: The pudding is ready when it thickens enough to coat the back of a spoon, and when you can draw a clear line through it with your finger. It will continue to thicken as it cools.
Beyond the Bowl: Unlocking the Versatility of Your Vanilla Pudding
One of the most charming aspects of an old-fashioned vanilla pudding recipe is its incredible versatility. It's not just a standalone dessert; it's a foundational component for countless other treats, a true culinary chameleon. This is a recipe your Grandmother may have made – and likely used in a dozen different ways!Creative Serving Suggestions:
While a simple bowl of warm or chilled pudding is divine, here are ways to elevate it:
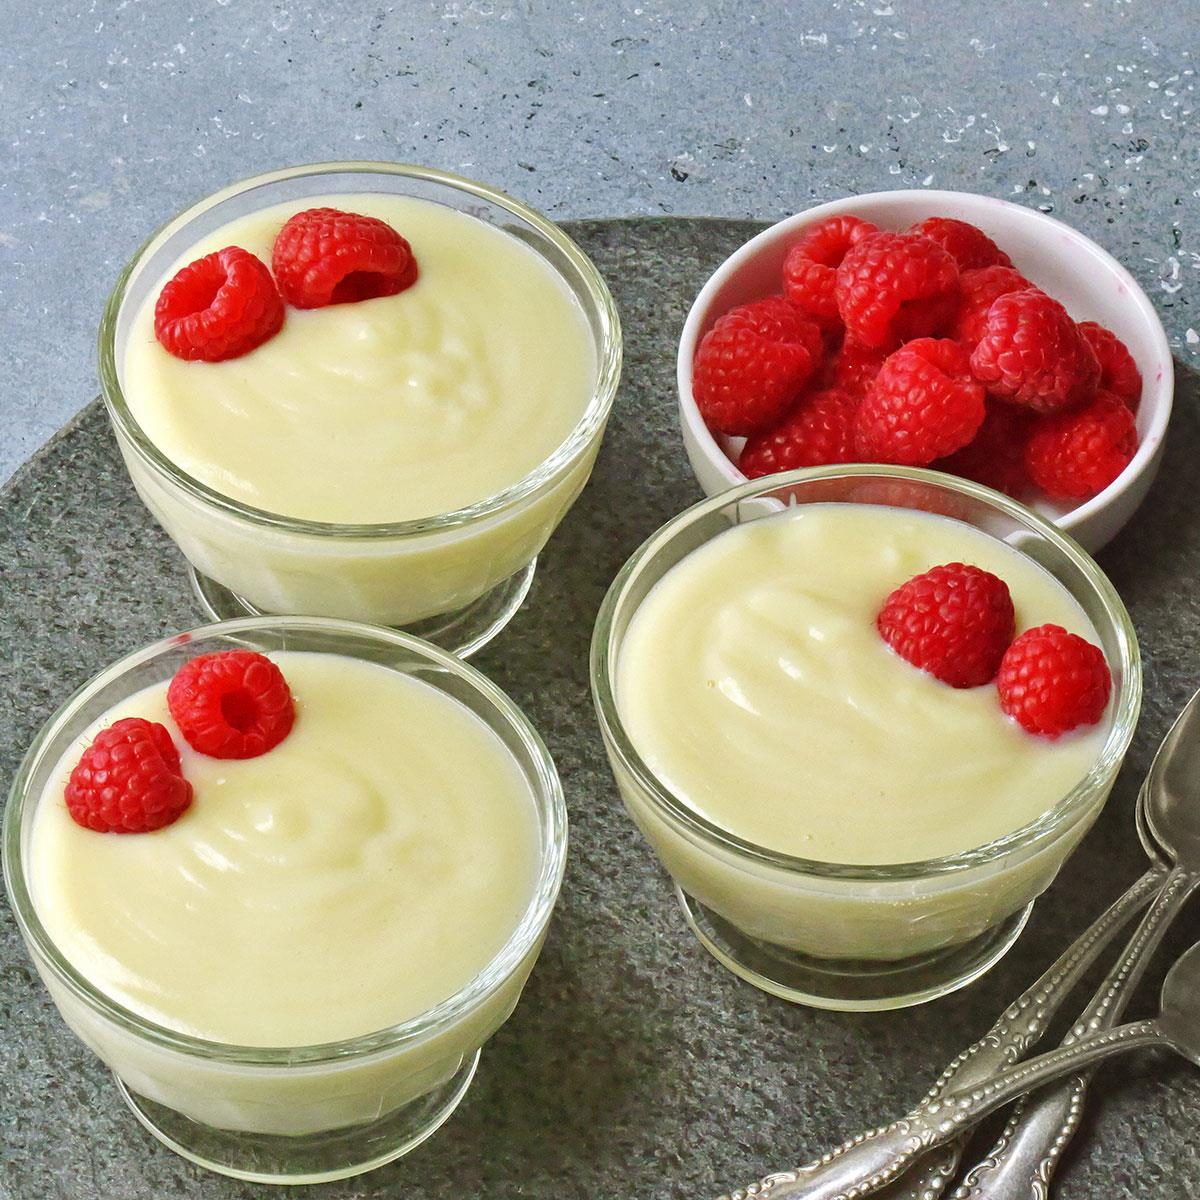
- Individual Servings: Ladle into pretty ramekins or small glasses. Top with an endless array of delights:
- Fresh berries or sliced fruit (strawberries, raspberries, bananas)
- A dollop of freshly whipped cream
- Crumbled cookies (vanilla wafers, shortbread, chocolate wafers)
- Sprinkles or chocolate shavings
- A sprinkle of toasted coconut flakes or crushed pineapple for a tropical twist
- Chopped nuts or candied pecans
Transformative Dessert Bases:
This humble pudding can become the star of more complex desserts:
- Banana Pudding: This is a classic Southern comfort food! Layer your homemade vanilla pudding with fresh banana slices and vanilla wafers for an utterly irresistible dessert.
- Custard Pie: Pour the warm pudding into a pre-baked 9-inch pie shell and chill until set. You'll have a wonderful, creamy custard pie that will impress any guest. Garnish with a sprinkle of nutmeg or a meringue topping.
- Trifles: Layer with cake cubes, fruit, and whipped cream for an elegant trifle.
- Dessert Cups: Combine with crumbled cake, fruit compotes, or even chocolate ganache for layered dessert cups.
Flavor Customizations:
Don't be afraid to experiment and personalize your pudding:
- Almond Delight: Add a little almond flavoring alongside (or in place of some) the vanilla for a different, sophisticated taste.
- Citrus Zest: Grate a bit of lemon, orange, or lime zest into the hot milk mixture for a bright, fresh note.
- Spiced Pudding: Infuse the milk with a cinnamon stick, a few cloves, or a pinch of cardamom for a warm, autumnal flavor. Remember to strain these out before chilling.
- Coffee or Chocolate: A tablespoon of instant espresso powder can deepen the flavor, or melt in some good quality chocolate chips for a chocolate-vanilla swirl.
To dive deeper into the incredible range of applications and get more detailed advice, check out our article on Mastering Homemade Vanilla Pudding: Versatile Uses & Quick Tips. For those who cherish that authentic, time-honored taste, you won't want to miss Grandma's Best: Old-Fashioned Vanilla Pudding Recipe Revealed.
Pro Tips for Pudding Perfection
Achieving truly exceptional vanilla pudding goes beyond just following a recipe. These insights will help you achieve that coveted silky-smooth texture and rich flavor every time:- Strain for Silken Smoothness: After cooking, if you want an absolutely velvety-smooth pudding, pour it through a fine-mesh sieve into your serving dishes or a bowl. This will catch any tiny lumps of cooked egg or starch that might have formed. It’s an extra step that makes a noticeable difference.
- Prevent a "Skin": As pudding cools, especially in the refrigerator, it can develop an unappealing skin on top. To prevent this, place a piece of plastic wrap directly onto the surface of the warm pudding. Press it down gently so no air is trapped between the pudding and the wrap. This keeps the surface moist and smooth.
- Chill Thoroughly: While delicious warm, vanilla pudding truly sets and develops its full, rich flavor when thoroughly chilled for at least 2-4 hours, or preferably overnight. Patience is a virtue here!
- Adjust Sweetness: Recipes often provide a general sugar amount. Feel free to adjust it slightly to your personal preference, remembering that the pudding will taste less sweet when cold.
- High-Quality Vanilla is Key: Since vanilla is the dominant flavor, invest in a good quality vanilla extract or paste. It makes all the difference.
