Mastering Homemade Vanilla Pudding: Versatile Uses & Quick Tips
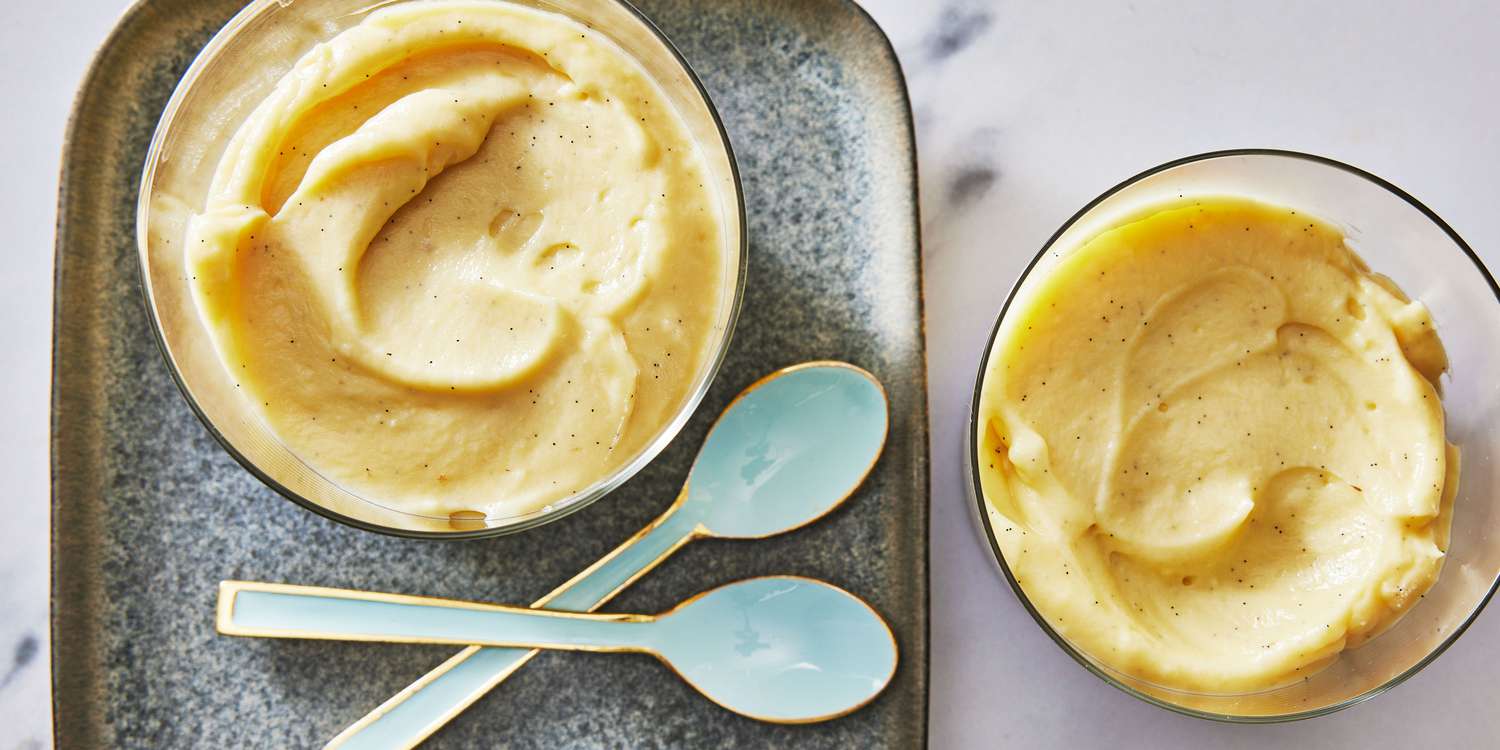
There’s an unparalleled joy in creating something truly delicious from scratch, and few desserts encapsulate this feeling quite like homemade vanilla pudding. Forget the instant mixes; a proper, made-from-scratch
vanilla pudding is a rich, delectable experience that transports you straight back to simpler times. Its creamy texture and delicate, sweet flavor are a testament to the power of quality ingredients and a little patience. While boxed versions offer convenience, they simply can't compare to the depth of flavor and velvety mouthfeel of a pudding made with real butter, fresh eggs, and pure vanilla. This isn't just a dessert; it's a foundation for countless culinary creations and a comforting treat in its own right.
The Timeless Appeal of Old-Fashioned Vanilla Pudding
The very mention of "old-fashioned
vanilla pudding" often conjures images of grandmothers lovingly stirring pots on the stovetop, their kitchens filled with a comforting aroma. This isn't just nostalgia; it's a testament to a recipe that has stood the test of time, cherished through generations for its simplicity and profound satisfaction. A homemade batch is more than just a sweet treat; it’s an invitation to savor a dessert crafted with care, offering a depth of flavor that instant versions can only dream of.
What makes this classic so enduring? For one, it’s the quality of ingredients. While seemingly humble, components like fresh milk, sugar, real eggs, and, critically, a generous knob of butter transform into a silky smooth, luxurious custard. As one source rightly emphasizes, "there is no substitute for the butter!" This ingredient is key to achieving that signature richness and indulgent texture that elevates homemade pudding far beyond its store-bought counterparts. Furthermore, it's remarkably quick to prepare, often coming together in a mere 4-5 minutes of active cooking once the ingredients are prepped. This makes it a perfect dessert to whip up when you crave something sweet without a lengthy time commitment, ready to enjoy whether for an impromptu craving or a special occasion. For a truly authentic experience, reminiscent of childhood kitchens, delve into
Grandma's Best: Old-Fashioned Vanilla Pudding Recipe Revealed.
Beyond the Bowl: Versatile Uses for Your Homemade Vanilla Pudding
One of the most remarkable aspects of homemade
vanilla pudding is its incredible versatility. While delicious served simply in a bowl, its smooth, creamy consistency makes it an ideal base or component for a myriad of other desserts. Don’t limit your imagination; once you master the basic recipe, a world of sweet possibilities opens up.
Here are some inspiring ways to use your homemade vanilla pudding:
*
Classic Individual Servings: The simplest pleasure is often the best. Serve your pudding in charming individual cups or ramekins. Elevate it with a swirl of fresh whipped cream, a sprinkle of chocolate shavings, a dusting of cinnamon, or a scattering of fresh berries. Cookies (like shortbread or vanilla wafers) and candies also make excellent toppings.
*
The Ultimate Banana Pudding: A quintessential Southern dessert, banana pudding reaches new heights when made with a homemade vanilla base. Layer slices of ripe banana, vanilla wafers, and your freshly made pudding for a truly irresistible, comforting treat. The pudding’s richness beautifully complements the bananas and crisp wafers.
*
Decadent Custard Pie: Transform your pudding into a spectacular 9-inch custard pie. Simply pour the freshly cooked pudding into a pre-baked pie shell and allow it to chill until set. You can top it with meringue, more whipped cream, or a lattice of fresh fruit for an elegant presentation.
*
Layered Desserts and Trifles: Use your
vanilla pudding as a creamy layer in trifles or parfaits. Alternate with cake cubes (sponge cake or pound cake work wonderfully), fruit, and whipped cream for a visually stunning and delightfully textured dessert.
*
Cake or Pastry Filling: Its smooth consistency makes homemade pudding an excellent filling for cakes, tarts, and pastries. Pipe it into éclairs or cream puffs, or spread it between cake layers for added moisture and flavor.
*
Frozen Treats: For a delightful summer dessert, freeze individual portions of pudding in molds for homemade pudding pops. You can also use it as a base for no-churn ice cream, adding mix-ins like crushed cookies or fruit swirls.
*
Dessert Dips: Combine your chilled vanilla pudding with cream cheese and a little whipped topping for a quick and easy fruit dip that's sure to be a crowd-pleaser.
Elevating Your Vanilla Pudding: Flavor Variations & Add-ins
While classic vanilla is undeniably delightful, homemade
vanilla pudding is also a fantastic canvas for flavor experimentation. A few simple additions can completely transform its character, offering new and exciting taste experiences.
Consider these options to personalize your pudding:
*
Fruity Infusions: Fold in drained crushed pineapple or shredded coconut to the warm pudding for a tropical twist. You can also gently stir in fresh fruit purees like raspberry or mango once the pudding has cooled slightly.
*
Nutty Accents: A dash of almond flavoring can give your pudding a sophisticated, marzipan-like nuance. Hazelnut or pistachio extracts are also wonderful choices. Be careful with extracts, as a little goes a long way!
*
Spices and Zests: A pinch of cinnamon, nutmeg, or a hint of cardamom can add warmth and complexity. For a brighter flavor, stir in the zest of a lemon, orange, or lime.
*
Chocolate Indulgence: Swirl in melted dark chocolate or mini chocolate chips while the pudding is still warm for a chocolate-vanilla marble effect. A tablespoon of cocoa powder can also be whisked in with the dry ingredients for a full chocolate pudding experience.
*
Coffee Kick: Dissolve a teaspoon of instant espresso powder or strong brewed coffee into the milk for a subtle coffee undertone that pairs beautifully with vanilla.
*
Adult Enhancements: For an adults-only treat, stir in a splash of a complementary liqueur such as rum, bourbon, Kahlúa, or Frangelico once the pudding has been removed from the heat.
Quick Tips for Pudding Perfection: Mastering the Stove & Beyond
Achieving that perfect, silky smooth
vanilla pudding isn't difficult, but a few key techniques and tips can make all the difference, ensuring your efforts result in a truly luscious dessert every time. If time is of the essence, learn how to whip up a batch quickly with
Quick & Creamy: Make Delectable Homemade Vanilla Pudding Fast.
Here’s how to master your homemade pudding:
*
Constant Vigilance on the Stove: This is arguably the most crucial tip. As the Southern Lady Cooks wisely advises, "This will burn easily so keep stirring and pay attention when you have it on the stove." The milk and sugar mixture can scorch quickly at the bottom of the pot if left unattended. Use a whisk to stir continuously, scraping the bottom and sides of the pan, especially once the mixture starts to thicken. This active stirring also helps prevent lumps.
*
Mind the Timing: Many recipes, particularly those that thicken quickly with cornstarch and eggs, come together faster than you might expect. The reference notes it took "about 4-5 minutes" for their recipe. Don't wander away from the stove during this critical period; look for tell-tale signs of thickening, such as bubbles forming and the pudding coating the back of a spoon.
*
Tempering Eggs: If your recipe calls for eggs (especially yolks), always temper them. This means gradually whisking a small amount of the hot milk mixture into the beaten eggs before adding the warmed egg mixture back into the main pot. This slowly brings the eggs up to temperature, preventing them from scrambling.
*
Quality Ingredients Matter: Use good quality vanilla extract (or better yet, a vanilla bean for unparalleled flavor), fresh eggs, and real butter. These core ingredients are the backbone of your pudding's taste.
*
Preventing a "Skin": As the pudding cools, a firm skin can form on top. To avoid this, immediately after cooking, press a piece of plastic wrap directly onto the surface of the warm pudding. This creates a barrier against the air and keeps the top perfectly smooth.
*
Cooling Properly: Allow the pudding to cool on the counter for a bit before transferring it to the refrigerator. Once chilled for at least 2-4 hours, it will achieve its optimal set and creamy texture.
*
Egg Whites in a Carton: If your recipe only calls for egg yolks and you don't want to waste the whites, remember you can buy egg whites separately in a carton, usually found near fresh eggs in the grocery store. This is a convenient option for home bakers.
*
Troubleshooting Lumps: If, despite your best efforts, your pudding develops small lumps, don't despair! Simply push the warm pudding through a fine-mesh sieve into a clean bowl. This will remove any clumps and leave you with a perfectly smooth, silky texture.
Homemade
vanilla pudding is more than just a dessert; it's a culinary cornerstone, offering endless possibilities for delicious exploration. Its rich, velvety texture and comforting flavor make it a perennial favorite, whether served simply in a bowl or transformed into an elaborate dessert. By following these tips and embracing its incredible versatility, you'll not only master the art of making this classic but also discover new ways to delight your palate and impress your guests. So, grab your whisk, embrace the simple pleasure of real ingredients, and get ready to enjoy the truly delectable experience that only homemade vanilla pudding can provide.